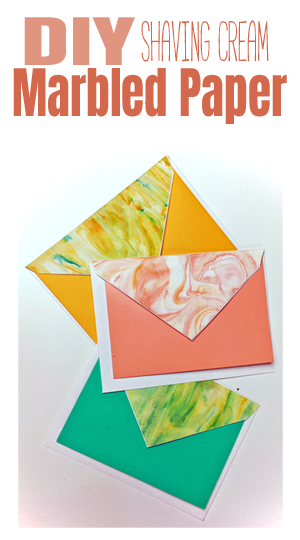
Well it’s FRIDAY! Whew… another week flew by in the blink of an eye. I got the best thing in the mail this week; a {type-writer} typed letter.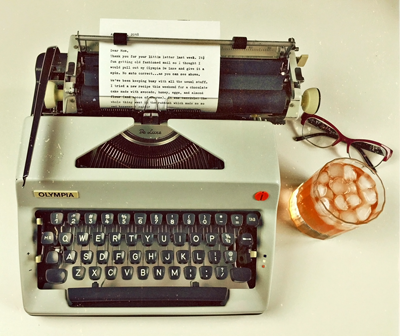 There is something so sweetly nostalgic about receiving a handwritten or typed letter. Today, everything is quick and compressed but writing a letter or plunking one out on a manual typewriter softens time. It’s therapeutic for both the creator and recipient. Receiving this letter inspired me to respond in kind and what better material to use than some beautiful marbled paper.
Where Do You Get Marbled Stationery? I’m so glad you asked because the answer is as fun and satisfying as receiving (or sending) the letter itself.
YOU MAKE IT…of course!
Okay, I know what you’re thinking. Making your own marbled paper MUST be time consuming and tedious with umpteen supplies…right? Actually, it’s as easy (and fun) as playing in the mud. All you need is a can of shaving cream and some dye or ink (and paper of course). Seriously! Oh, and rubber gloves. You definitely will need some rubber/latex gloves.
So are you ready to play?
Read through this short and simple supply list then click on the image below to watch the TAKE FIVE VIDEO Tutorial. Woohoo! That’s it. Fun and fabulous don’t you think?!
The Nitty Gritty
The Affiliate links below are provided for your shopping convenience. I only place links to products I have used and found to be of good quality. If you shop through these links, you get the same price as if you shopped on your own BUT, I receive a small amount of $ (actually cents) for recommending the product. This helps keep A Crafty Composition up and running. So thanks for your support and for all the Nitty Gritty details, click HERE.
Shaving Cream Paper Marbling Suppy List
Shaving Cream: I like Barbasol because it’s cheap, fluffy and makes your stationery smell fresh and clean…BONUS!
Ink Options: You can use food dye but I prefer one of these products
Ranger Adirondack Dye Based Re-Inkers (My favorite). Sadly, Ranger Ink discontinued these in 2015 but I have an entire drawer full and I love them. You can still get some of the colors on Amazon, like here.
Ranger Distress Ink Re-Inkers or Ranger Dylusions Ink Spray. Make sure you DO NOT use Alcohol Ink Re-Inkers as they don’t work well for this application.
Paper Options: You can use a good quality copy paper, ‘resume’ paper, cardstock or even watercolor paper.
Miscellaneous: cookie sheet or casserole dish lined with plastic wrap, disposable gloves, craft sticks (aka Popsicle stick) for stirring, paper towels, waxed or freezer paper for drying you paper on
Optional: And an iron for pressing your paper once dried
NOW for the video…
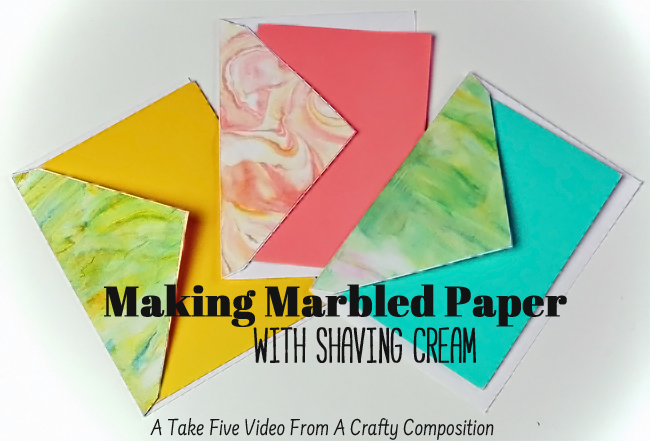
Isn’t that COOL!
Now that your house smells like they shot a Gillette commercial there, here’s a quick idea for upcycling cheap envelopes with your beautiful marbled paper.
Simply slide a piece of your marbled paper under the envelope flap. Trace the outline of the flap.
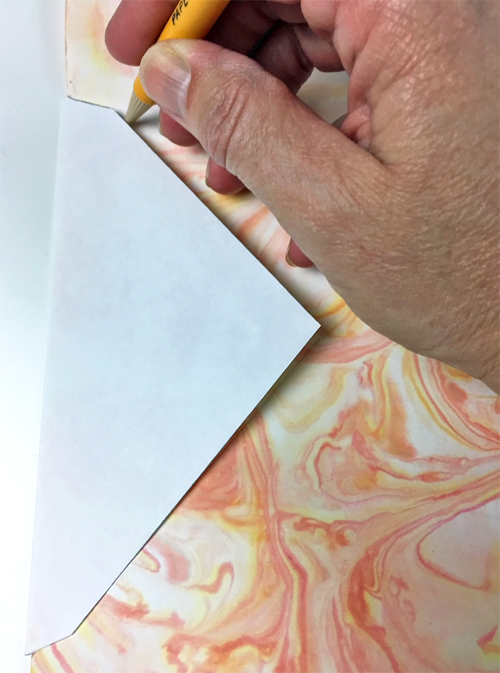
Cut just inside your pencil mark and adhere the decorative paper to the flap with a ZIG Glue Pen.
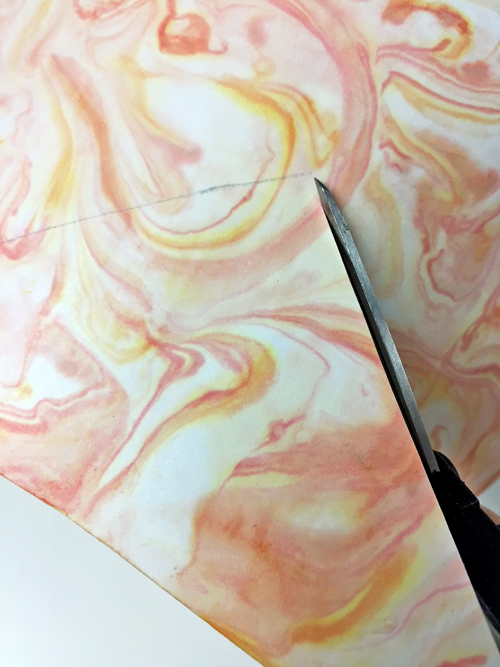
Now you have wonderfully unique (and good smelling) note cards ready for your hand written (or typed) correspondence.
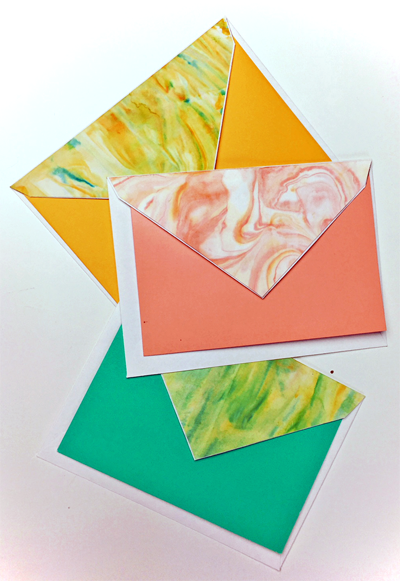
Go ahead. Play a little… and then make someone’s day with a piece of handwritten or typed happy mail.

Sharing is caring!
Related Posts
5-Minute Mini Gift Bag
If you have followed A Crafty Composition for a while you know it is fairly…
January 266 COMMENTS
COMMENTS (I love hearing from you!)
This site uses Akismet to reduce spam. Learn how your comment data is processed.


Tania | 27th Apr 18
That looks like so much fun, thank you for the great video tutorial!!
Tania
JoElle | 30th Apr 18
You are very welcome Tania. It’s quite easy and a lot of fun.
Maria Conti | 27th Apr 18
Love your tutorial! Thank you so much . I will be trying this very soon:).
JoElle | 30th Apr 18
Thanks Marie! So much fun!
Vikki | 27th Apr 18
Your marbled paper is beautiful !! It’s always been hard to find these papers and they are usually expensive. Thanks for this great idea.
JoElle | 30th Apr 18
You’re very welcome. It actually is very easy and a lot of fun. Everything smells of shaving cream for a while but that’s not really a bad thing. I hope you give it a try.