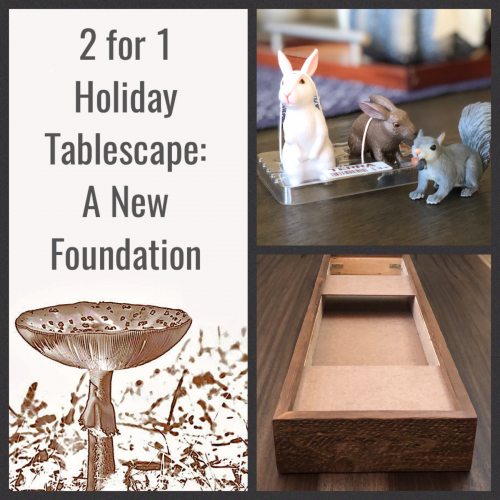
I am thankful for two things today (in addition to my usual gratitude). First, I am thankful the elections are over. My junk mail will return to it’s usual, only slightly absurd volume and hopefully, the hundreds of mini billboards gracing the city’s street corners will soon be gone. I’m thrilled we all have the right to vote but good Lord. . . does it have to be so long and so ugly? The second thing I’m thankful for is my hubby’s willingness to unquestionably help when I have woodworking on the brain. That was the case last weekend. Yes, the hamster wheels were spinning and I needed the big tools to create my vision; a tray that would support not just my current double duty holiday tablescape but all tablescapes to come.
The Problem with Tablescapes
One of biggest problems with table arrangements is that, for the amount of work I put into them, I want them to be out for awhile. That means multiple occasions when I need to wipe down the table after a meal or dust the Arizona/Maisy-ness off of it. Removing the tablescape and getting it back up just the way it was is quite a chore. I keep thinking, there’s got to be a better way to do this. {insert squeaky hamster wheel}
The ANSWER?
Well, I’m not sure what to call it; a box… a tray… a foundation…but I think (I hope) it’s the solution. I AM SO EXCITED to show you this and give it a test drive.
Here’s a quick little video of my new tablescape . . . ummmm thing-y.
Well what did you think? {I know, I’m still the crafter without a face BUT I did put my voice in the video this time – baby steps.} In the next post I will reveal the complete woodland 2 for 1 holiday tablescape and also update you on all the other projects like napkins, napkin rings, placemats etc. I hope to have specs written up for this tablescape box should you be interested in making one – perhaps by next week.
Whew. Thanks for hanging in there and as always . . .

Sharing is caring!
Related Posts
Three Projects From One Tablecloth
By now I think you know that I love two-fers. Like the Green Chili…
June 292 COMMENTS
COMMENTS (I love hearing from you!)
This site uses Akismet to reduce spam. Learn how your comment data is processed.


Tania | 9th Nov 18
I love it! I am curious to know how you made the channels for the sliding wood pieces though… because I NEED to make one of these!
Tania
JoElle | 12th Nov 18
Hi Tania. Thanks for your comment. Basically you lower the blade on the table saw to only cut 1/4″ deep. Decide how far you want your channels from the edge of the wood and run your board through once. Move your blade over 1/16″ and run your board through again. This creates your channel. You could also use a router. Have fun and let me know if you have any other questions.