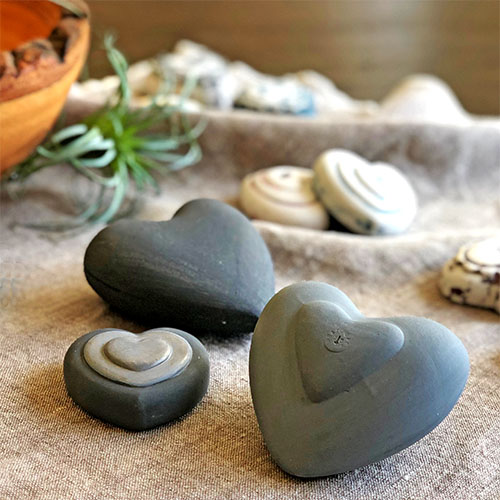
Valentine’s Day is just around the corner so let’s talk about hearts – stone cold hearts. That’s cheerful. . . right?! Actually, it is because this week’s project includes cupcakes, candy and color. How can that be bad?! So put on your apron and rubber gloves because we are going to make a heart-filled mess.
I love the look of concrete and stone in home décor items. It’s simple, organic and beautiful. Did you know you can get the same look with some in-expensive Plaster of Paris and acrylic paint? It’s easy and, depending on how you finish your item, the look can go from rustic farmhouse to organic modern.
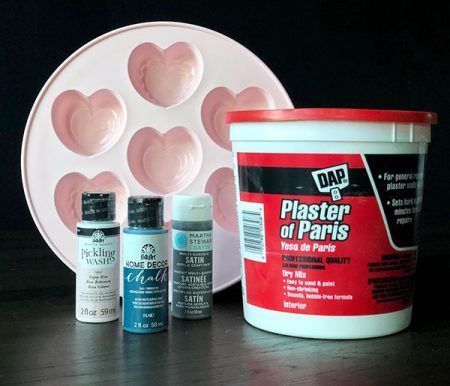
Supplies
You really don’t need very many supplies to make these fun faux stone hearts. Here’s a quick supply list.
- Plaster of Paris Dry Mix
- Water
- Bowl to mix in and Paint stick to stir with
- Small trowel or palette knife
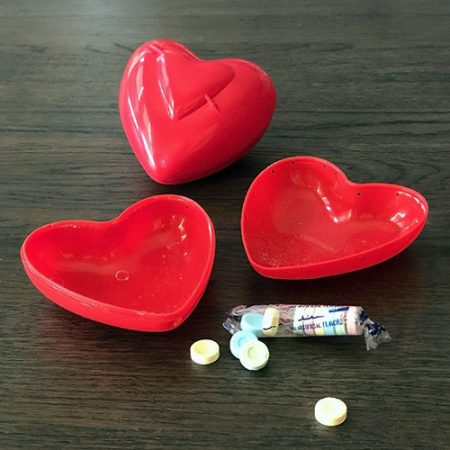
- Heart-shaped molds (can be containers from candy OR cupcake/candy silicone molds work REALLY well. I purchased mine at Target
- Can of PAM or other oil spray
- Acrylic paint (I especially like the matte and chalk finishes)
- Fine sand paper
- E6000 Clear glue (if gluing two hearts together)
- Rubber gloves, a drop cloth to protect your table and paper towels for clean up.
Mix & Pour
Before you mix the Plaster of Paris and water, make sure you have your forms ready. You may want to mark your ‘fill to’ level on the forms, especially if you are planning on gluing two hearts together
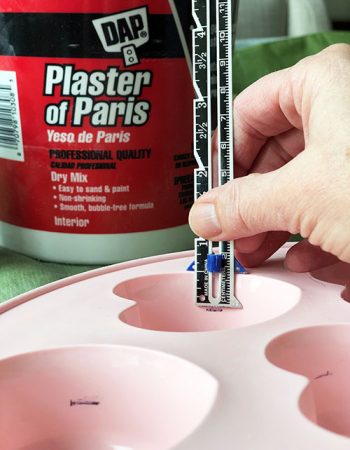
Also, spray any NON Silicone forms with Pam cooking spray. Use your finger to rub the spray into every nook and cranny of the form. This makes it easier to get the set shape out. You DO NOT need to spray silicone forms.
Now you are ready to mix the Plaster of Paris and water. The ratio is 2 parts plaster mix to one part water. I found it helpful to add just a tad more water. Additionally, I added gray acrylic paint to make the color more similar to concrete or stone.
NOTE: You have less than 10 minutes to get the mixture into the forms before it starts setting. No pressure, right!?
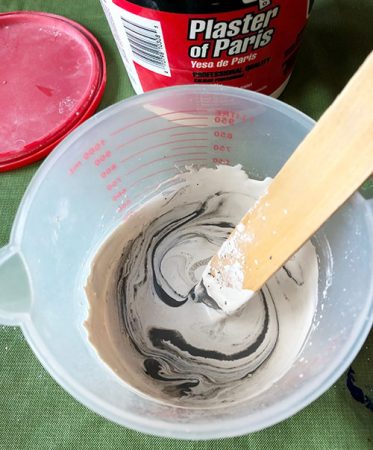
After pouring the mixture into the molds, give them a little tap and jiggle to settle the bubbles. Make sure you set the forms on a level surface – this will take a little work on the plastic candy holders as they don’t have a flat bottom to rest on.
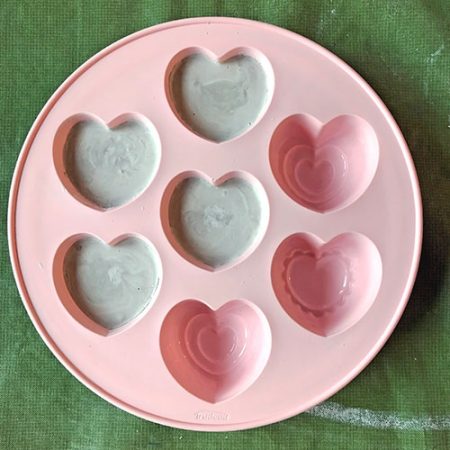
Set time (in the mold) is about 30 minutes
Removing the plaster shape from the form is simple when using silicone forms. Simply press the backside of each shape and the form will pop right out. Unfortunately, removing the plaster from the hard plastic forms is a bit more challenging. Two things that help are: Patience and a very thin painter’s palette knife which you can slide between the form and the plaster.
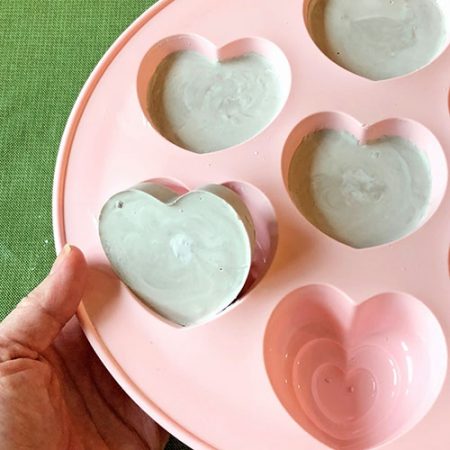
Curing, Gluing & Sanding (oh my!)
It takes about 48 to 72 hours for the plaster shape to completely dry or cure. The humidity level in your home makes a difference so pick the driest, warmest spot in your home and let the shapes sit in the open air.
Hint: If you have a warming drawer, set it to the lowest temperature (about 100 degrees) and place your plaster forms (on a rack) into the drawer for 4-6 hours. Finish drying over night.
Once your forms are dry, it’s time to sand and, if you choose, glue your hearts together.
Wee Bit Messy WARNING
Sanding Plaster of Paris is almost as bad as playing with ultra fine glitter – in fact, I think it’s worse because you don’t look like a princess or a mermaid afterwards.
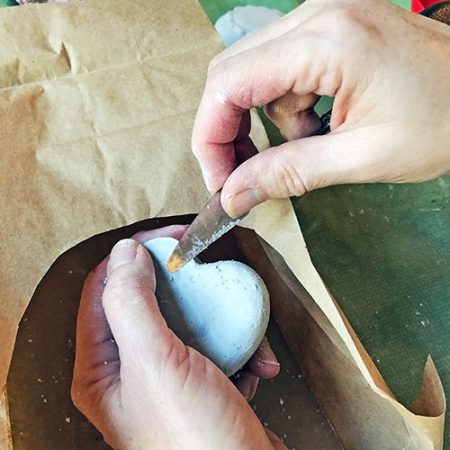
I like to sand into a paper bag or holding over a garbage can. If you have respiratory issues, you may want to wear a mask. The dust is very fine. Also, schedule your manicure for AFTER this project (or wear rubber gloves)
Areas you may want to sand:
- The backs of two hearts if you are gluing them together. The smoother and more level they are, the better the pieces will fit together.
- Rounding the edges to make them look more stone/pebble like.
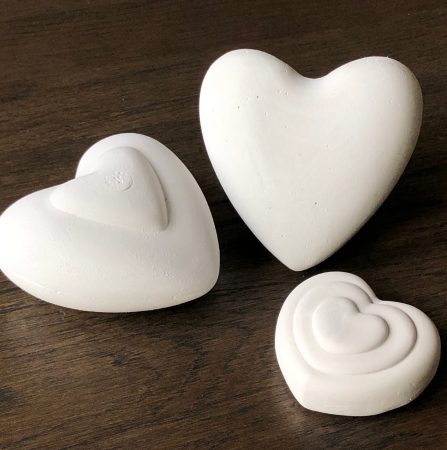
Gluing two hearts together gives you a wonderful 3-D heart. Simply spread a thin layer of E6000 glue onto the back of one of the hearts and press the other heart onto it. Give it a quick little shimmy to spread and lock the glue before lining up the edges and binding the two pieces together with rubber bands. Once dry, sand the seam a bit to smooth it out.
Time to Get Creative
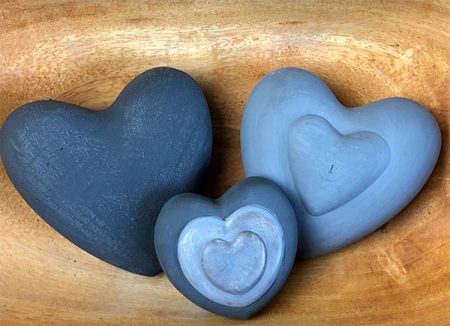
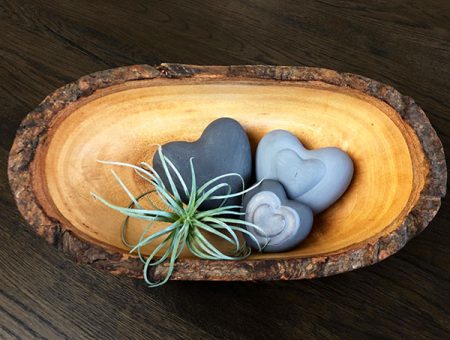
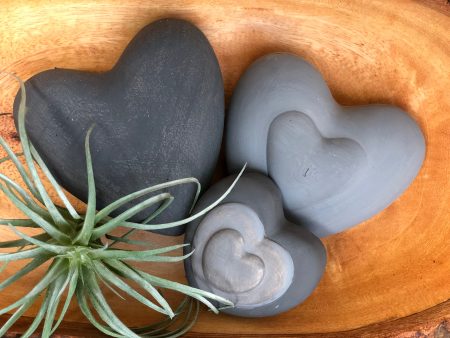
As you can see in the pictures above, The hearts look super cool just as they are; in their raw state. You could spray them with a matte sealer and call it done.
BUT. . .
We’ve already made a mess so let’s have a little fun. These faux stone hearts are perfect for so many different home décor styles. It’s all in how your finish them.
Rustic Farmhouse or Shabby Chic
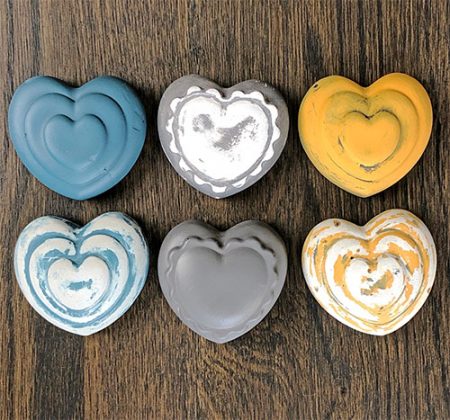
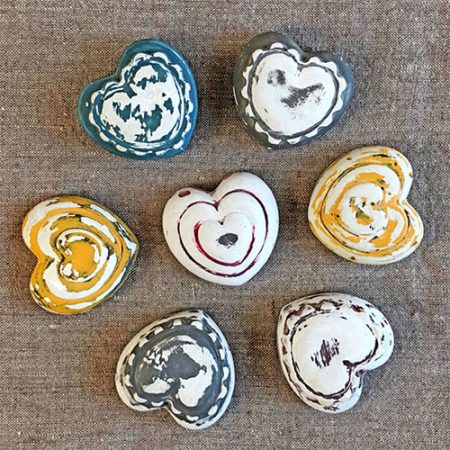
By adding some chalk paint and doing a bit of sanding these little hearts are the perfect addition to a rustic farmhouse décor. I think some of them actually look like wood hearts with the paint all worn and loved off of them. Can’t you just picture a wood bowl or woven basket full of these cuties!?
Organic Modern
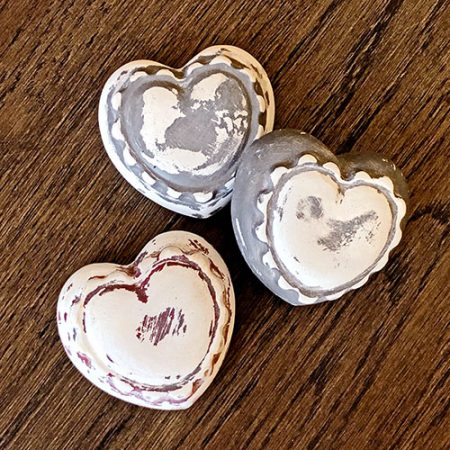
Sleek, natural and beautiful, these simple hearts are painted to look like a combination of stone and metal. I first brushed on a layer of bronze paint followed by a thinned layer of FolkArt Home Decor Chalk in Turkish Tile mixed with matte white paint. I finished the hearts with a dry brush method using Americana Decor Chalky Finish in Relic. I’m absolutely in love with the natural yet elegant simplicity of these hearts!
Colorfully Artistic
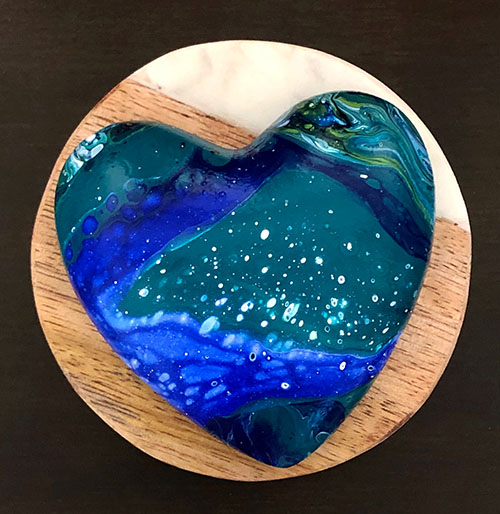
Fluidly wonderful, this last heart is made using a fluid acrylic paint pour method. The process is unpredictably amazing as you never know how the colors are going to merge and flow. Watch my YouTube video, Fluid Paint Art Rocks, to see how it’s done. This heart will get a coat of hi-gloss sealer which will bring out all the fabulous details even more. I think this heart would be a gorgeous addition to any office or home.
Each of these hearts are so unique, I’m not sure which style I like the best. How about you – which heart is your favorite? Let me know in the comment section below. Remember, if you enjoy the stuff you see or read on A Crafty Composition, please share with your friends. I’m on Pinerest, Facebook and Instagram – click on the social media links below (or in the side bar) and follow my crazy creative journey. Thanks so much!!

Sharing is caring!
Related Posts
5-Minute Mini Gift Bag
If you have followed A Crafty Composition for a while you know it is fairly…
January 268 COMMENTS
COMMENTS (I love hearing from you!)
This site uses Akismet to reduce spam. Learn how your comment data is processed.


Veronica | 7th Feb 19
Happy Valentine’s Day! These are so sweet! For Christmas, per request, I gave my mother-in-law a box of painted rocks…all hearts surrounded by dots. She was delighted! These would do the trick, as well. Maybe 2019…
JoElle | 9th Feb 19
Happy Valentines Day to you too Veronica. Yes, I think these would be fantastic gifts. I’m not sure how they would do outside in the garden though – definitely would have to seal them.
Maria Conti | 7th Feb 19
I 🥰 them all! Great ideas, Thank you!
JoElle | 9th Feb 19
Thanks so much Maria and you are very welcome!!
Vikki | 6th Feb 19
These turned out so beautifully, but I love the fluid paint one. It’s like looking at a galaxy (far, far away….). Lots of good instructions and hints–thank you!
JoElle | 9th Feb 19
Thank you Vikki. I thought the heart one looked like a galaxy too! I’m glad you enjoyed the post
Lenneke | 6th Feb 19
I love the Rustic Farmhouse hearts! You are so talented!
JoElle | 6th Feb 19
Thank you Lenneke! I like those too – they are just sweet.