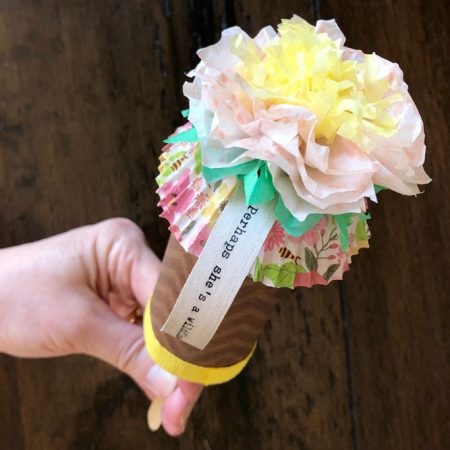
I saw my first cactus bloom yesterday, a little teddy bear cholla with bright pink petals. I dare you to look at a spring flower and not feel a little pep in your step. . .a smile on your face. It’s impossible! That’s why I absolutely love this week’s project. . . the Bloom Bomb.
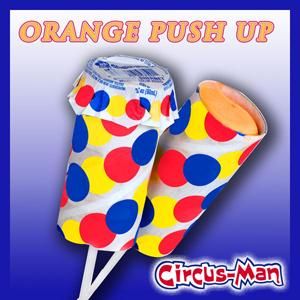
Inspired by the Push-Up Pop
Do you lovelies remember these delicious, syrupy orange push up pops? I used to get them from Mr. Tippy after school. Mr. Tippy was the BEST neighborhood ice cream man in the world. Good selection, great location (literally across the street from the school playground) and he would even loan you a nickel if you were short – just once.
I’m not sure why these childhood treats came to mind the other day but they did and then my hamster wheel of a brain started spinning – flt flt flt. At first it was a slow, squeaky spin, pushed by a smitten-ness over last weeks puny plant markers. Then my mom and I had a nice phone chat and she told me about the May Day tradition of hanging flowers on your neighbors’ door knobs. How sweet and neighborly is that?! Hmm. . . squeek squeek flt flt .
I began thinking about a unique way to give plants as gifts. Of course there’s the darling Oui Planters from last week’s post but I loved the idea of a May Day drop and run kind of gift. This is where the Push Up Pops enter.
Could I make one and fill it with dirt and seeds? flt flt squeak flt. What material would I use? How would the push up mechanism work? flt flt whurrr. And then I went to sit . . . and think. . . and that is when the empty roll of toilet paper solved my dilemma. Whurr whur whurrr. . . squeak.
The Mechanics
(as described by a non-mechanically, optimistically-minded person)
The basic concept for my homemade seed push pop is this. Fill an empty TP roll with dirt and seeds. Create a disc on a stick that can move up and down inside the roll – and thus eject the seed and dirt into a flower bed or field. Make a lid that won’t randomly fall off but can easily be removed. Oh. . . and use as many recycled materials as possible. Of course, it had to be pretty. I mean, who would be excited about getting a plugged up toilet paper roll full of dirt – right?! Pretty was important.
I decided to call this contraption a Bloom Bomb because, in my best success scenario (which my brain plays out in epic fashion). The recipient will first ‘oh’ and ‘ah’ over the cuteness of it all. Then they will find themselves in a barren field full of dead winter grass, bare trees and brown twigs . . . and rocks. Not pretty painted Kindness Rocks but boring normal rocks – you get the picture. They gracefully take off the lid and push the Bloom Bomb’s stick up, causing a handful of dirt and seeds to scatter for yards and create this . .

Yes, I know. ALL of this scenario will not happen. In reality, the contents of the Bloom Bomb will create something more akin to a pot of wildflowers rather than a Sound of Music-esque field of flowers but it is a smile-inducing idea . . . right? And there’s that cuteness factor for sure so let’s get going!
The Supplies
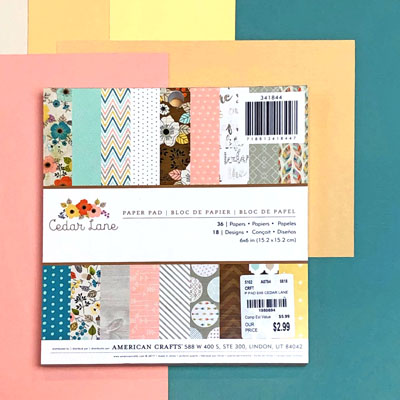
- 5″ or longer empty toilet paper roll or empty paper towel roll
- 6″x 6″ Scrapbook paper, wrapping paper, sheet music, maps or . . ?
- roll of crepe paper streamer
- an empty cracker or cereal box
- 4.5″ by 3/8″ popsicle sticks (see I told you to buy the 1,000 count box!)
- cupcake liners
- tissue paper; green plus at least two other colors (preferably good quality with that waxy coating on one side.
- Wildflower seed mix
- Adhesives: hot glue gun, E6000, Scor-Tape (1/2″) and Glue Dots
The Tools
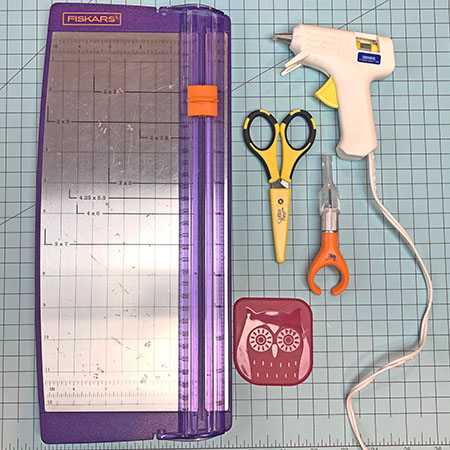
- scissors
- ruler
- x-acto knife or craft knife
- paper trimmer
- scraper
- hot glue gun (optional)
- pencil
- hole punch (I LOVE my Crop-a-Dile)
- 1.75″ circle punch (optional)
A Quick Word About Amazon Affiliate Links
You can read my required affiliate link disclosure in the black box below. What I REALLY want you to know is this. IF I haven’t tried an item – I don’t link it. IF I tried an item and it sucks – I don’t link it. Also, IF I don’t think Amazon offers a good price – I don’t link it. I do the shopping around for you; best price, best shipping, best product for the job. Additionally, if you look back through my posts you’ll see I link to the same products over and over again. Why? Because they work; they are a good price and I use them. I’m not going to recommend three different hole punches when the Crop-o-dile is THE best one out there. We all work way too hard for our money to waste it. Ain’t nobody got time for that!

Okay – are you ready to make an awesome bloom bomb or what?!
Step One: Making The Tube
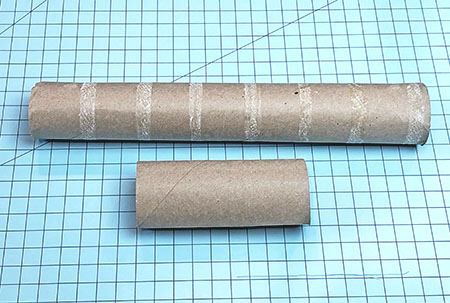
Get yourself a 5″ cardboard tube via a toilet paper roll (can’t be the skimpy 4″ one – Noo) or a paper towel roll, which gives you two 5″ tubes.
Note: the best way to evenly cut a paper towel roll is to measure and mark 5″ from a factory produced straight end.
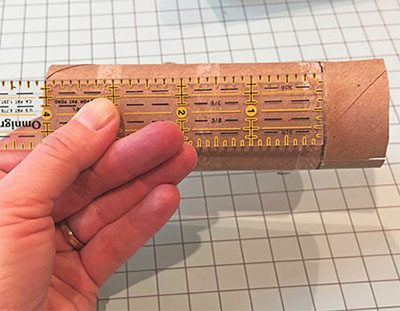
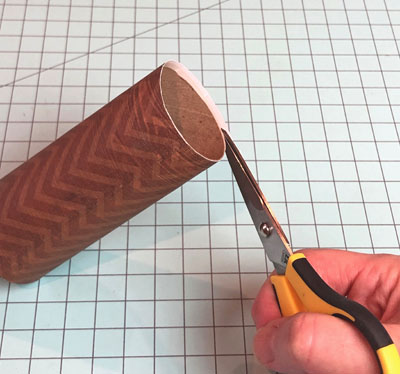
Measure and mark 4″ from a known straight edge. Mark it all the way around the tube. YES! All the way around. I think I cut straight – I don’t cut straight. Mark it ALL the way around. (2nd pic, clockwise)
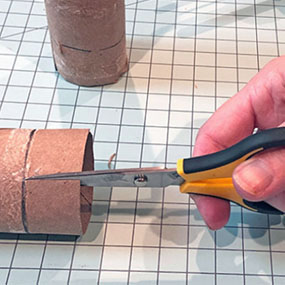
Make 5 or 6 vertical cuts from the end of the roll to the 4″ line (4th pic, clockwise)
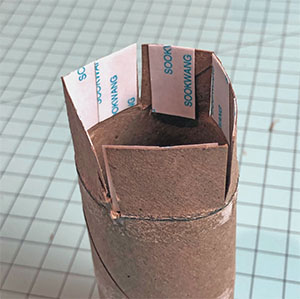
Place Scor-tape on each of the ‘flaps’ you’ve created (3rd pic, clockwise)
Peel the backing off the Scor-tape and fold the flaps into the tube. Press firmly with thumb to ensure grip and encourage arc.
Step Two: Prettying Up The TP Roll
Cut a piece of decorative paper (scrapbook, wrapping, sheet music, etc.) into a 6″ x 4 and 1/8″ each rectangle. In case your paper has a direction – the 6″ goes around the tube and the 4 and 1/8th” is the height.
Run Score-tape around the perimeter of the paper’s back.
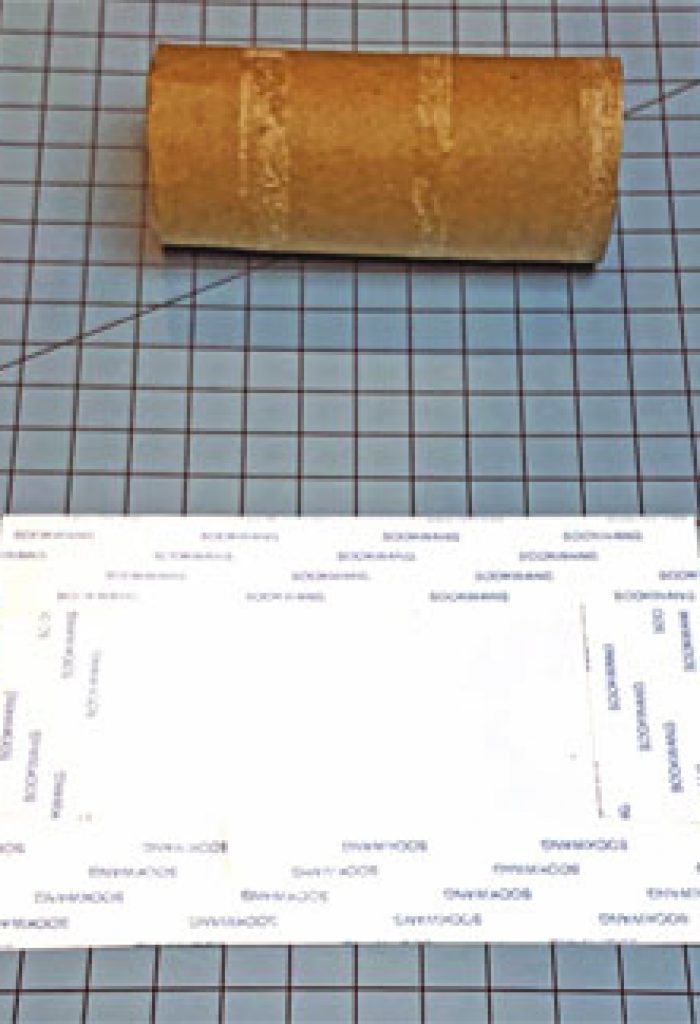
I used 1″ but you can use 1/2″ and do another row in the middle. Use the pastry scraper to ensure the adhesive is really well adhered. Try to get the Scor-tape close to the edge of the paper. (1st horrible quality pic.)
Peel the backing off the Scor-tape and line up the 4″ edge of the paper as vertically straight as possible onto the TP roll. Smooth and press as you work around.
Trim any excess off (2nd pic). HINT: you are going to have a wonky end – because you’re human. Try to make the wonky end be the end you folded the flaps on. You will cover up the bottom 1/2″ of that end with the crepe paper border. Yay for cover ups!! (swimsuit, make-up and crafting kinds anyway)
Step Three: Adding Trim
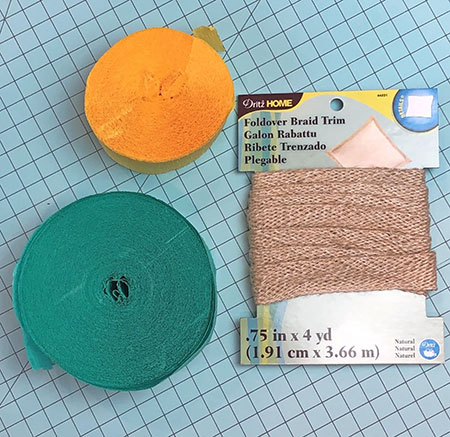
Cut a piece of crepe paper streamer or braid trim to 6″ in length. DON’T STETCH OUT THE CREPE PAPER! (I’m not yelling – I’m emphasizing – to save you crafting grief).
If you are using the Foldover Braid Trim – it’s already folded appropriately (lucky you!) If you are using crepe paper streamers, fold the 6″ piece in half horizontally (2nd pic).
Folding crepe paper is different than folding regular paper. Match up your ends and then gently press down to create the crease. DON’T RUN YOUR FINGER ALONG THE CREASE (again – not yelling). It will stretch out the crepe paper and make it lopsided.
Now, unfold the crepe paper and align one of the long edges TO the middle crease. Make a new crease – the middle crease no longer matters. (pic two)
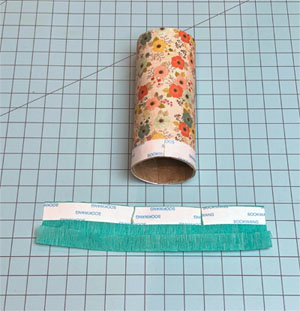
Run a strip of Score-tape around the BOTTOM of your TP roll (the end that has the flaps folded in). Use three or four smaller pieces of adhesive rather than one long one. As before, run the edge of your adhesive right along the edge of the TP roll.
Run a strip of Score-tape on the edge of the crepe paper OPPOSITE the folded edge (again, use three or four pieces rather than one).
Peel the backing off the Scor-tape on the TP roll. Align the folded edge of the crepe paper (fold facing down) with the TOP edge of the Scor-tape. Press gently to ensure adhesion.
Next, peel the backing off the Scor-tape on the crepe paper. Gently guide the crepe paper INSIDE the tube – over the cardboard flaps you previously created. See picture below.
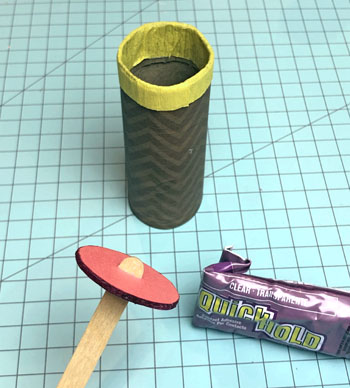
Step Four: Making the Push Stick
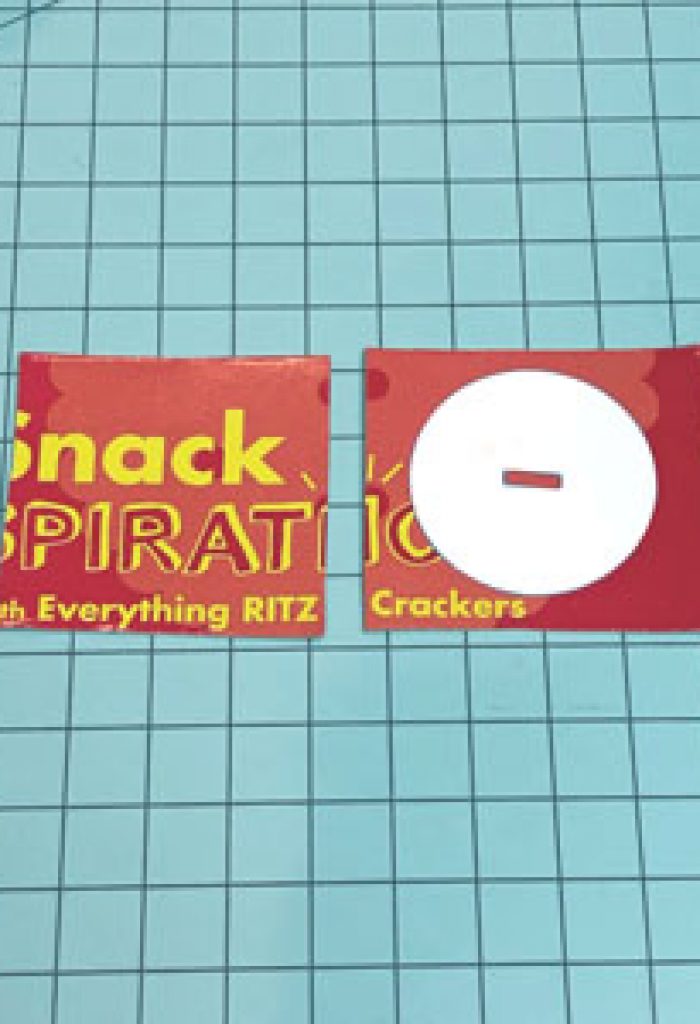
First, roughly cut two 2″ pieces of cardboard from a cracker or cereal box. Glue them together with hot glue. Work fast so the glue isn’t lumpy and be careful of the heat. Rub the pastry scraper over it to make sure there is good adhesion.
Now rough cut two 2″ pieces of cardstock or decorative paper. Glue one piece on each side of the cardboard. (2nd pic, clockwise)
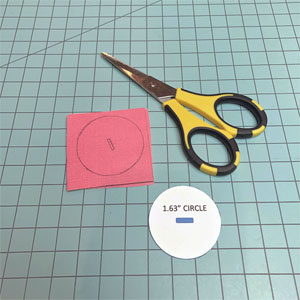
Print out THIS TEMPLATE of a 1.63″ circle. Cut out the circle template, including the slot in the middle. An x-acto or craft knife works great for this. Place the template onto the cardstock/cardboard sandwich you made and trace.
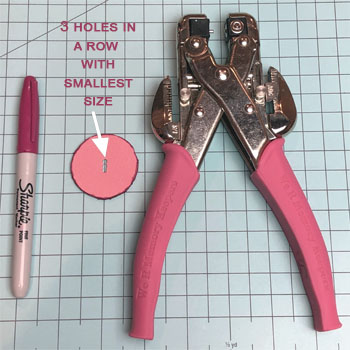
Cut out the cardstock/cardboard circle. Next, use the smallest hole of the Crop-a-dile to make three holes (vertically) IN the slot (4th pic, clockwise). This is much easier than cutting through all the layers, in the middle of a circle, with a craft knife (or is it Colonel Mustard, in the library, with the rope? – hmmmm)
OPTIONAL: If you don’t like the cardboard edge of the circle – color it with a colored Sharpie, Posca pen or ink. (4th pic, clockwise)
Squirt E600 glue into the slot. Slide the tip of a popsicle stick into the slot so that 1/4″ to 1/2″ of the stick is showing (3rd pic, clockwise). Let dry. Lastly, enforce the stick with hot glue on BOTH sides.
Test the push stick
Once everything is dry, insert the long end of the push stick into the TOP of the tube. When you pull the stick from the bottom of the Bloom Bomb it should stop at the cardboard flaps inside the tube. Make any adjustments necessary to esure the push stick/disk snuggly slides up and down in the top section of the tube.
Step Five: Making The Tissue Flower
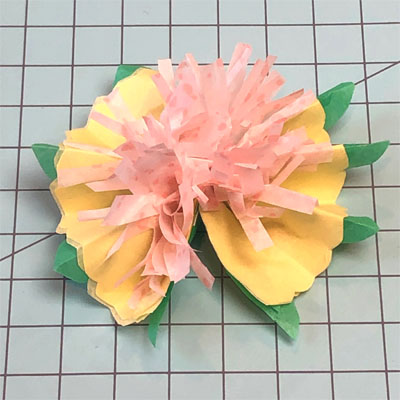
First, a word about tissue paper – it is NOT all created equal. Get a quality tissue paper that is waxed or coated on one side. Papyrus brand is great as well as Target’s tissue paper. Avoid Dollar Store tissue paper (but their crepe paper streamers and spring cupcake liners are perfect for this project).
Now, cut the tissue paper in the following sizes {number of pieces in ( )}
- For leaves: 5″ x 3″ (1) and 5″ x 3.5″ (1)
- For flower: 5″ x 3″ (4)
- Flower middle: 5″ x 2.5″ (2)
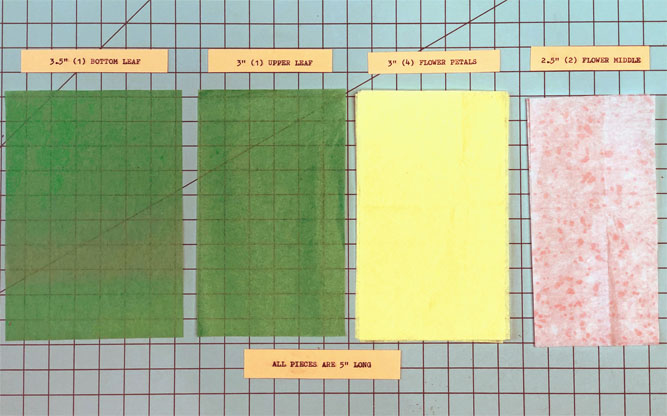
Next, stack the pieces on top of each other in the following order: big leaf, small leaf (green), flower petals (yellow) and flower middle (peach).
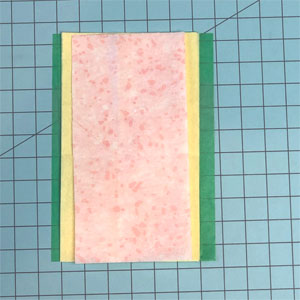
Fold up the bottom edge of the stack about 1/2″. Flip stack over and fold another 1/2″. Continue flipping back and forth, folding 1/2″ each time. You will end up with five to seven folds; like an accordion. Now, separate the stack by color and then size.
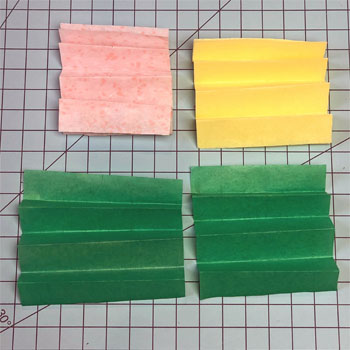
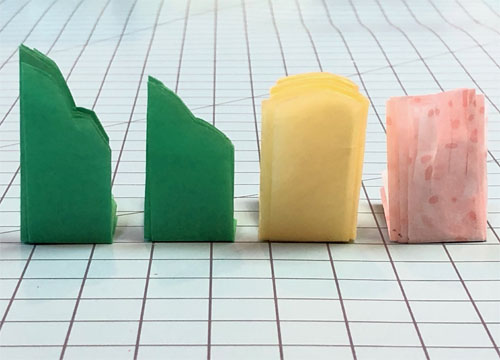
Each section of the flower has a different edge. Collapse the accordion for each section and then fold that in half. Cut the non-folded end according to the part of the flower it is (see picture below).
Now, stretch the accordions back out and lay each section back on top of each other in the same order as before (big leaf, little leaf, main flower, middle flower.)
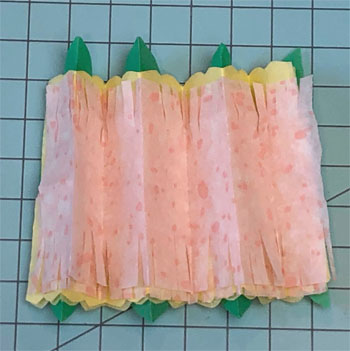
Center each piece on top of the previous piece and then, collapse the accordion again.
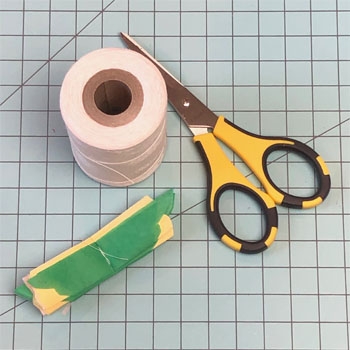
Locate the middle of the collapsed accordion. Make a small slit on each side of the middle. Wrap a piece of thread a few times around, making sure to slip the thread into these slits. Tie a simple knot and trim thread ends.

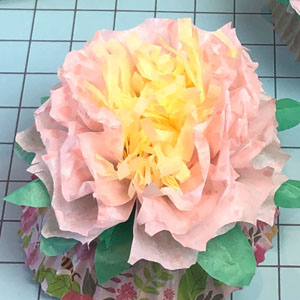
Finally, flip the collapsed accordion over and gently fan it out. Then, carefully start pulling each layer of tissue paper apart, starting with the fluffy flower middle and working out towards the leaves. This is where you’ll really appreciate having quality tissue paper.
YouTube Tutorials
There are several good YouTube videos out there for tissue paper flowers. Try THIS ONE to get a feel for the process. Keep in mind she is making significantly larger flowers.
Step Six: Making The Lid
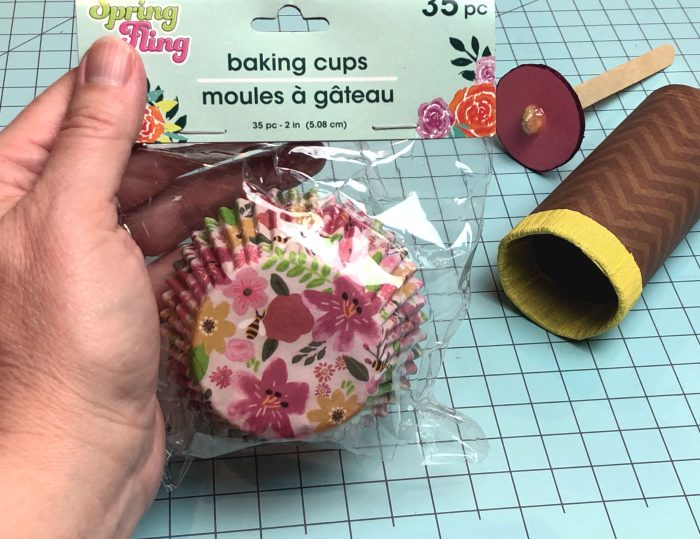
The lid of the Bloom Bomb is just an enforced cupcake liner. Use any color you like. I found some great Kraft paper ones at Target – nice and neutral. I found the floral ones at the Dollar Store
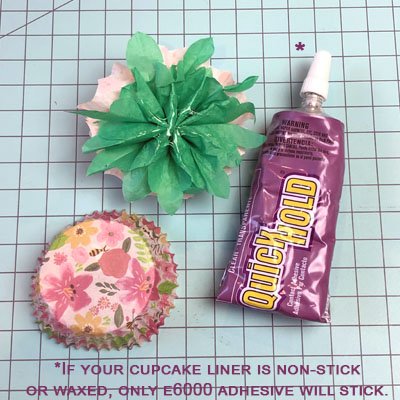
This step is super simple as long as you keep ONE IMPORTANT THING in mind. The only adhesive I found to adhere to a waxed or ‘non-stick’ cupcake liner is the E6000 glue. Not even the hot glue gun – it just pulled right off. So, save yourself from a crafting tantrum and just use the E6000 for these steps.
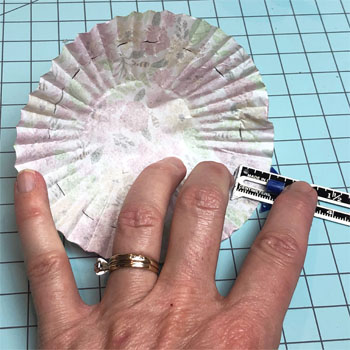
First, measure and mark 1/2″ in from the edge of your cupcake liner (2nd pic). Cut.
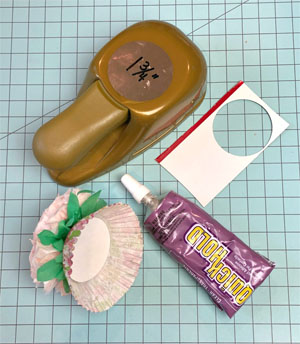
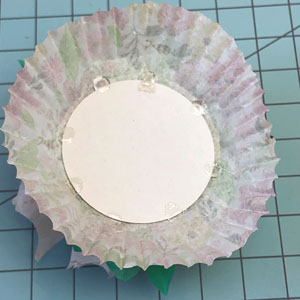
Punch a 1.75″ circle out of your cereal or cracker box. Adhere that to the inside of your cupcake liner. IGNORE the glue I’m showing in the picture. Use the E6000.
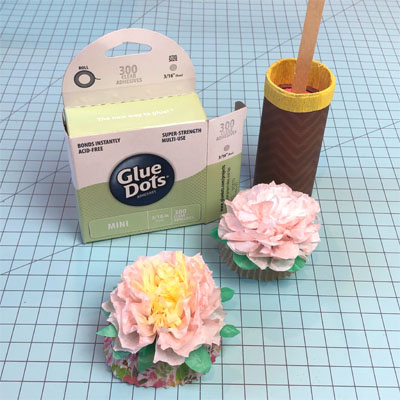
Use snot dots – politely known as Glue Dots – around the perimeter of the cardboard circle. I used eight of them. You must press the dot onto the edge of the cardboard to get the Glue Dot to stick (2nd pic below).
Flip your cupcake liner over and adhere your tissue paper flower to the outside. Allow glue to dry.
Step Seven: Fill And Cap
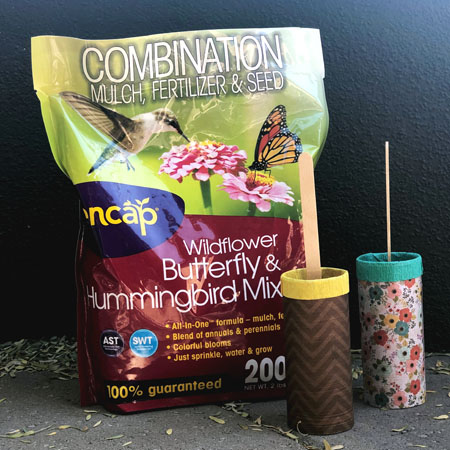
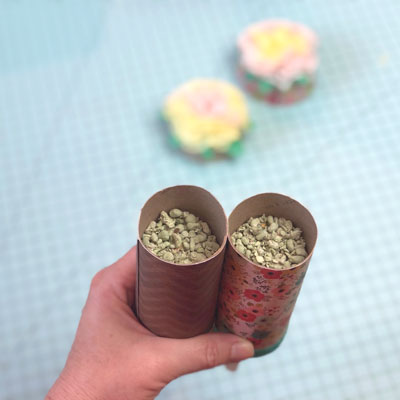
I used Encap Wildflower Seed because it is mulch, fertilizer and seed all in one. The Amazon reviews on this product aren’t great . . . seems like either a love it or hate it result. I have some growing in a flower pot so I’ll update this post once I have my results. What I liked about Encap is that I didn’t have to put potting soil in the Bloom Bomb. I was worried the moisture in the soil would stain or leak through the cardboard. The Encap is more user-friendly for this application but it would absolutely stink if the seeds didn’t bloom. So, just in case, – I listed an alternative seed option in my Amazon links above.
I put about 3 big tablespoons of the Encap in each Bloom Bomb. I didn’t want it so full that seed spills out when the lid is pulled off. Once the bomb is filled, flip your gorgeous flower-topped cupcake liner onto it. Feel your way around the edge to press the Glue Dots onto the tube’s edge. My Bloom Bombs are laying down sideways and the lids stay on nicely.
So, are you ready to see the finished product? . . .
I think these would be so perfect to hand out at a Mother’s Day brunch or as party favors at a baby or bridal shower. You can easily add some fun tags with cute sayings like . . . “Cheer Up Buttercup”
“Grow Where You Are Planted”
“Perhaps She is a Wildflower”
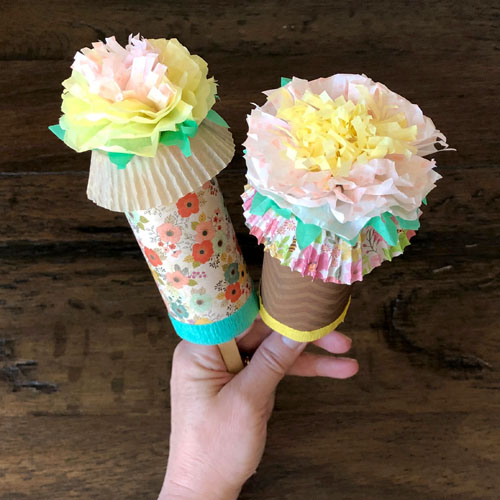
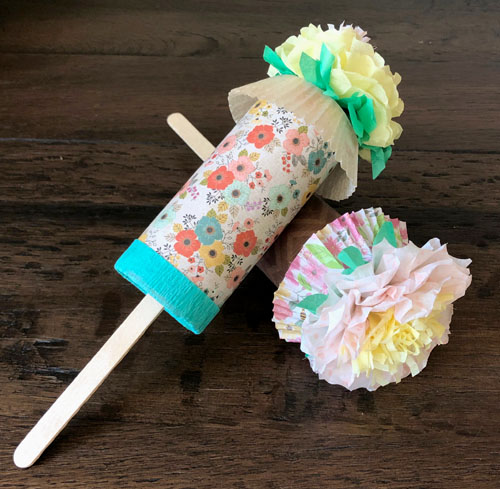
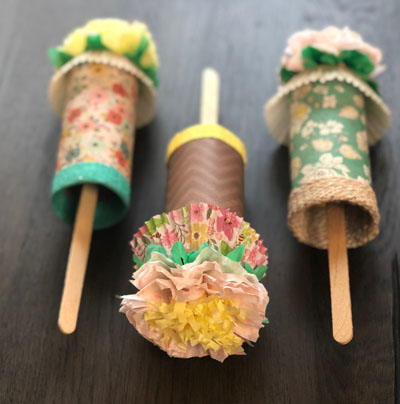

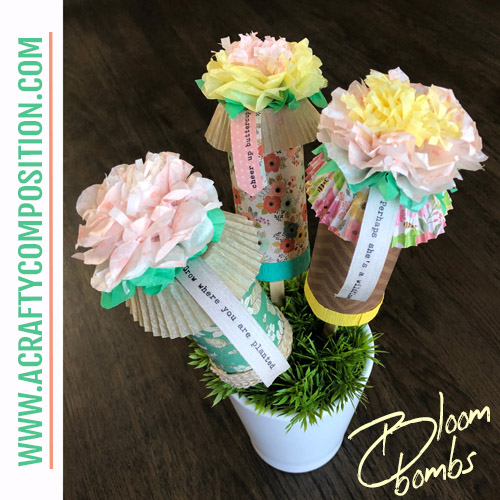
Receiving one of these beautiful Bloom Bombs would certainly put a pep in my step and a smile on my face – how about you? It seems like quite a process but actually, once you get an assembly line going and know what you’re doing, these Bloom Bombs are quite fun to make. Additionally, it is the PERFECT time of the year for these – April showers bring spring flowers!
Yes, I know one Bloom Bomb won’t cover an entire field with bee and butterfly loving blooms. Likewise, I know repurposing a couple toilet paper rolls and a cracker box won’t save the earth – but it helps. . . and they are pretty darn cute!!
Thanks for hanging out with me today. Have a funtabulous weekend and as always, happy crafting.

Psssst . . . Want to help A Crafty Composition grow?
Please Pin, Like, Follow, Share and most of all SUBSCRIBE. Everything you need is at the bottom of this post or on the side bar to the right. THANKS!
Sharing is caring!
Related Posts
5-Minute Mini Gift Bag
If you have followed A Crafty Composition for a while you know it is fairly…
January 264 COMMENTS
COMMENTS (I love hearing from you!)
This site uses Akismet to reduce spam. Learn how your comment data is processed.



Tania | 29th Mar 19
Oh! Those are so cute, I love them!
Tania
JoElle | 30th Mar 19
Thank you Tania!!
Vikki | 29th Mar 19
These are so creative and so cute! I love the flowers you made for the top. Who wouldn’t be cheered up receiving these?!?
JoElle | 30th Mar 19
Thanks Vikki! Who knew a toilet paper roll could be so cute!