
New Craft Room Reveal!
Hello all you beautiful crafty souls. I am so excited…like fireworks, a marching band and Jewel singing a special song (because she’s a crafter too ya know) excited! My new craft room is finally complete and today I get to share it with you. Can I hear a HALLELUJAH! I looked back to see when this project started; February 19th! Wow! Five months in the making and it all started with this post,

Remember the Cleaning, Purging and Organizing Phase?
If you don’t, you should check out the post Craft Space Makeover: Organization. It’s plumb full of great organization tips. One of the hardest things about this makeover was honestly evaluating what was working for me…and what wasn’t. The big bookcases shown above were an Ikea purchase back in 2011; my desk as well. I liked the duality of the bookshelves; they store a lot of stuff and they allow me to display things that make me happy and creative. Furthermore, I did NOT want to move them out of the room. Seriously! So, the bookshelves were staying. The desk however; was a different story. We’ve moved it so many times the screws were stripped. The sides were also damaged in the last move when one of the movers decided it was easier to slide it across the floor of the truck then lift them. Additionally, the desk is about 2 inches too tall for me so… the desk was out. I did find use for the old desk parts later as you will see in the reveal (yes, I know…it’s coming). There was also another large hutch and a reading chair in the room but for the amount of space they took up, it didn’t make sense to keep them. They found new happy owners via Craig’s List.
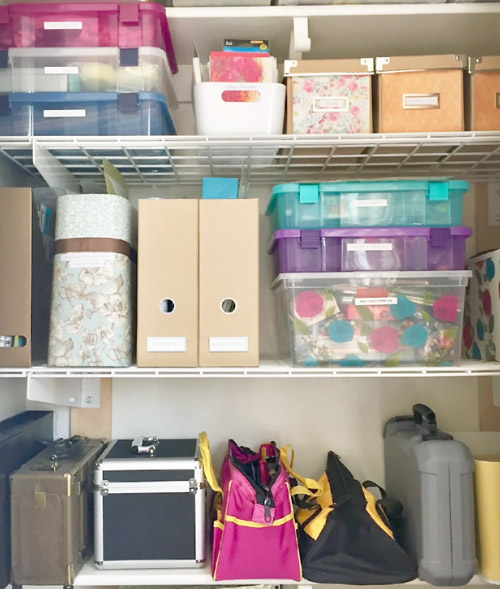
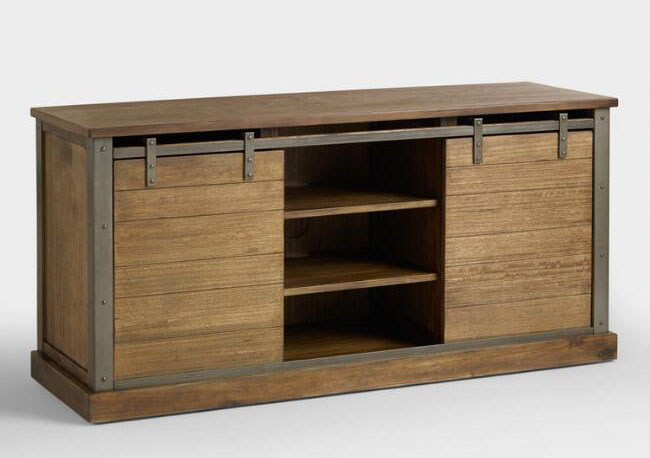
To offset the storage I lost from the cubbies under my desk and the hutch, I added shelving in my closet and purchased a media cabinet from World Market. The media cabinet had the industrial look I wanted and was low, like a credenza, opening up the room and gaving me another flat spot to put things when crafting.
Gallery Walls & Vignettes
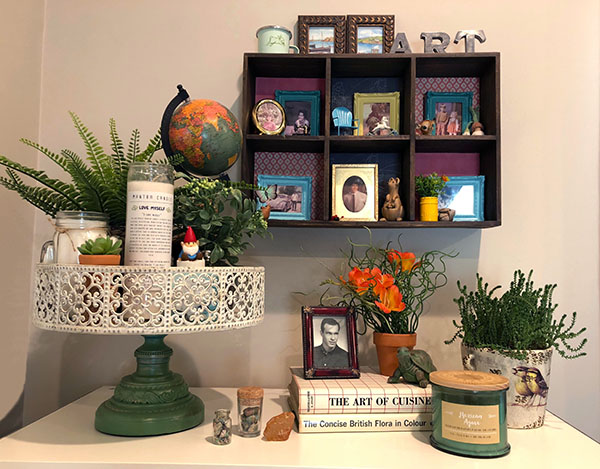
Two things I always try to make room for, even in a very functionally driven room, is a gallery wall and a vignette. No matter how hard you are working in a room and no matter how utilitarian it is, gallery walls and vignettes make the space personal. They are little spots for your personality to shine. And guess what…. ahhh you already know – there are some wonderful posts on those two very topics.
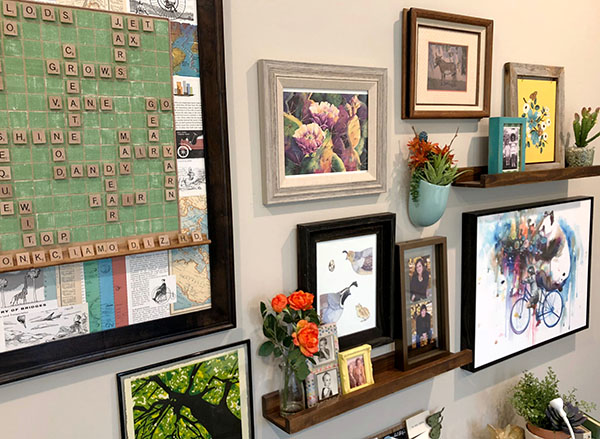
Craft Room Makeover: Gallery Walls I and Gallery Walls II were written as I was creating the gallery wall for my new craft room. You will see more of this wall soon but here’s a little peak. This wall has a few of my favorite things; pictures of 3 generations of siblings, my DIY magnetic scrabble board and one of my all time easiest (and sweetest) DIY projects, the swinging print in wood frame.
Remember I told you I repurposed parts of my old desk? Well, I used one of the damaged cubby sections of the desk’s base for extra storage by standing it on it’s end and covering the scratched sides with faux wood laminate. It worked beautifully and game me the perfect spot for a pretty little vignette. Need tips on how to make your own vignette? See this post: Creating Beautiful Home Decor Vignettes. Ultimately, once I figured out the best adhesive to use, the laminate sheets turned out to be a splendid way to cover up damaged furniture…hmmm, sounds like a future blog post, don’t you think?
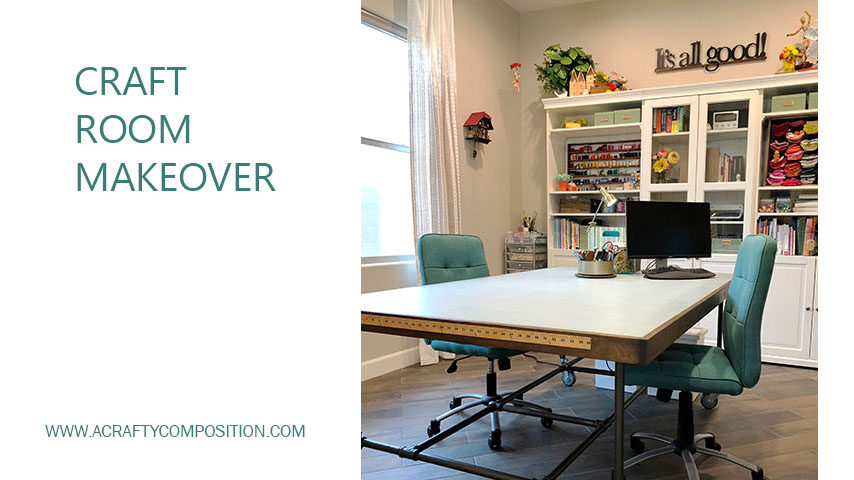
The DESK! (dun dun dun…)
As many of you know, I was dead set on making my own desk. Some people call me crazy; I like the word tenacious. My old desk was a 5′ square which was nice and big but didn’t fit my rectangular room very well. The new desk would have an industrial pipe base, an imperviously smooth laminate top and measure about 6′ by 4′. Sounds easy enough, right? I mean, after all we made an industrial coffee table for our patio in a weekend. Possibly because I had my mind so strongly set on it, the desk ended up being the problem child of the makeover. I know… in my YouTube Video showing the process, it all happened in 3:08 minutes. Actually though, it took a little longer.
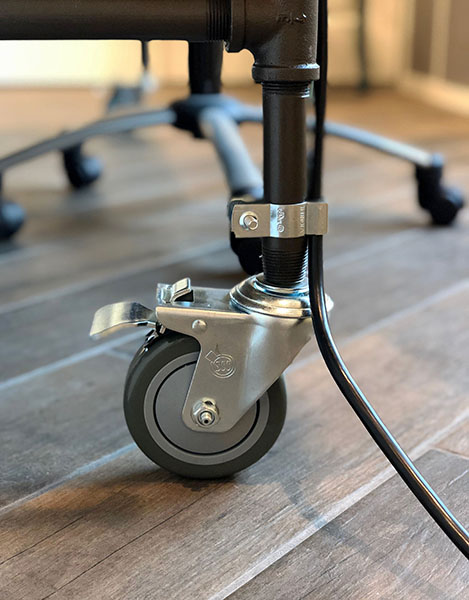 We had a heck of a time solving the caster wheel problem; even the expanding post wheels were not tight enough to not bow under the weight of the desk. Also, who knew it took 4 to 6 WEEKS to order a sheet of laminate! But, all the problems had solutions and I absolutely LOVE MY DESK!
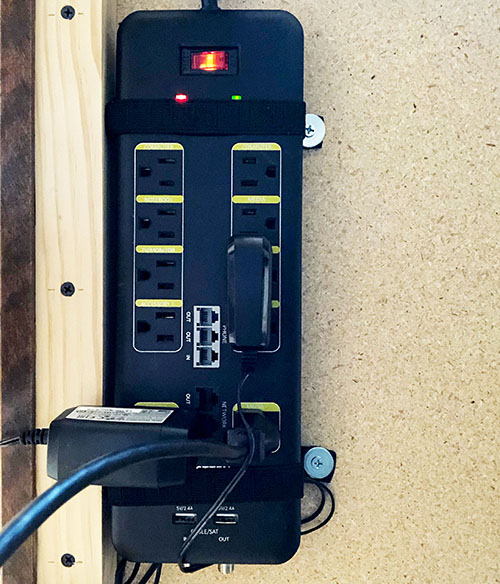
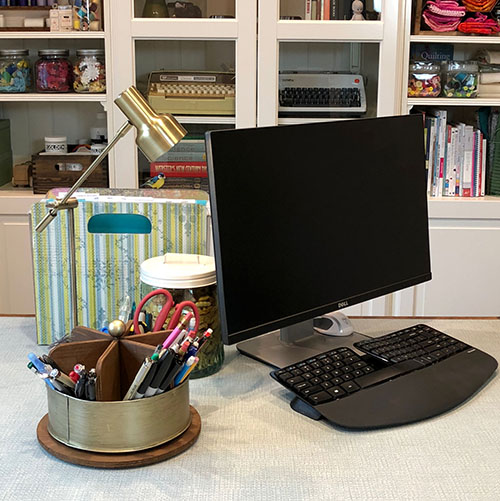
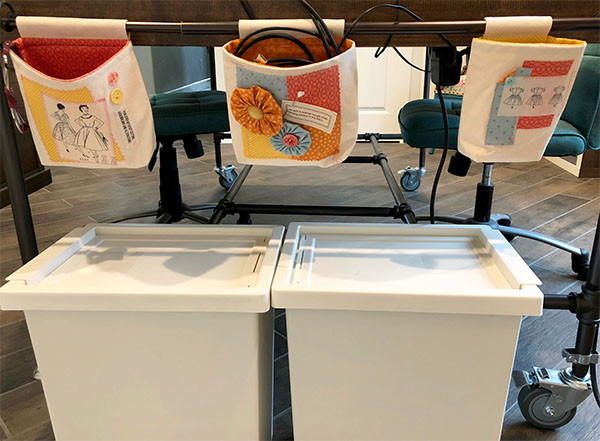
The top is a pretty pale aqua color and I stained the wood trim to coordinate with the World Market credenza. One end of the table has a yard stick (I always thought that would be so cool – you know, to quick measure a yard of ribbon). I installed a rod to hang my fabric storage bags on the other end. I have a serious aversion to cords showing so I came up with a handy way to place the power strip under the desk. ELASTIC, like an electrical hammock of sorts. Quite proud of that one…. strange, I know. Then the main power cord simply runs right down the leg.
You know what, I could use all the words in the dictionary and the rest of the day to explain what my new craft room looks like but really, don’t you think I should JUST DO THE REVEAL already!! Okay, hit it Jewel… (you have to click on the picture)
Well, I hope you are not disappointed – Jewel was a little over my budget. Nevertheless, WHAT DID YOU THINK? I can’t believe how many posts are wrapped into this Craft Room Makeover. Did you notice the Boho Victorian Chair and the Rope Basket in the video? I’d love to hear what you love about this makeover in the comments below.
Thanks so much for patiently awaiting this reveal. DON’T FORGET, If you love A Crafty Composition, PLEASE SHARE IT! Facebook, Pinterest, Instagram…and by subscribing to the blog and YouTube channel. Thanks so much and as always,

Related Posts

5-Minute Mini Gift Bag
If you have followed A Crafty Composition for a while you know it is fairly…
January 262 COMMENTS
COMMENTS (I love hearing from you!)


Tania | 13th Jul 18
Oh JoElle, I LOVE it! It’s so organized and beautiful! Wish I could come craft with you!
Tania
JoElle | 18th Jul 18
Thank you so much Tania. That would be so fun – we would be dangerous together.